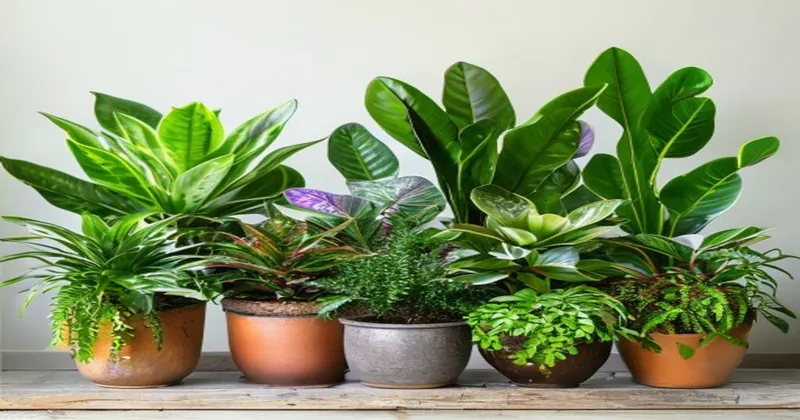
We've all been there: you bring home a gorgeous new plant, give it a prime spot on the shelf, and shower it with attention (and water). Then, out of nowhere, the leaves start to yellow, the stems get a bit squishy, and your leafy friend looks like it's ready to give up the ghost. It's heartbreaking, but usually, the culprit isn't a "black thumb" - it's actually too much love in the form of overwatering.
In this guide, we're going to dive deep into the art of hydration. I'll share 11 practical, easy-to-follow tips that will help you master your watering routine, keep those roots healthy and white, and finally banish root rot from your indoor jungle for good. Whether you're a total beginner or a seasoned plant parent, these insights will change the way you look at your watering can.
1. Master the "Two-Inch" Finger Test

The most common mistake is watering on a strict calendar schedule without checking if the plant actually needs it. Soil can look bone-dry on the surface while remaining a soggy mess at the bottom of the pot where the roots live. This is why the finger test is your best friend.
Stick your finger about two inches deep into the soil. If it feels moist or if soil sticks to your skin, wait a few more days. Only reach for the watering can when the top couple of inches feel dry to the touch. This simple habit alone can save about 90% of plants from the dreaded rot.
Think of it as checking the oil in your car - it's a quick diagnostic that tells you exactly what's happening under the hood. Every plant has different needs, and the finger test respects those individual quirks. You'll soon find that some plants want to stay consistently moist, while others prefer a bit of a "drought" between drinks.
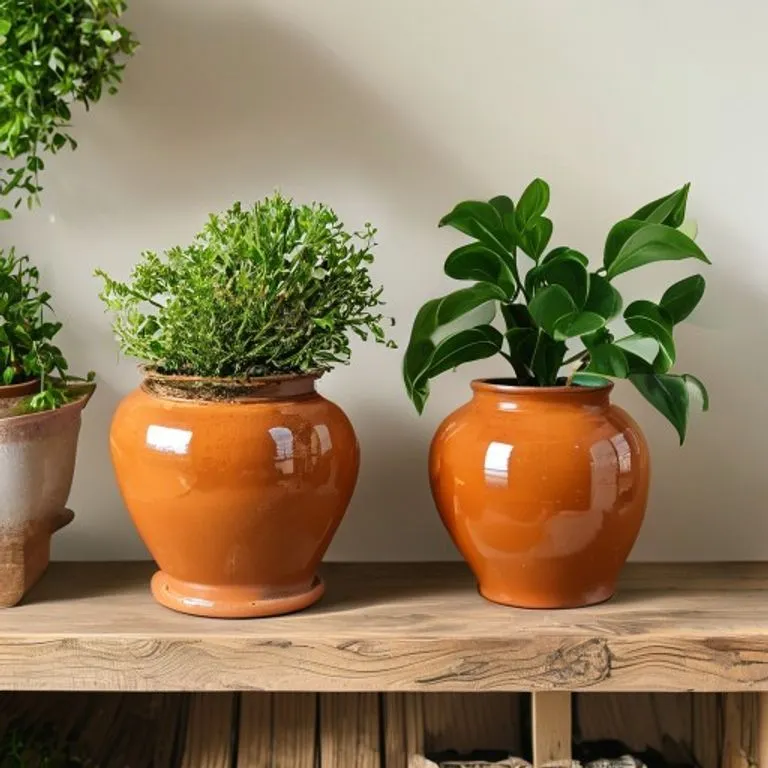
2. Always Use Pots with Drainage Holes
I know those cute decorative ceramic pots without holes are tempting, but they are often a death sentence for your plants. Without a way for excess water to escape, it pools at the bottom of the pot. This creates a stagnant environment where bacteria thrive and roots literally drown from a lack of oxygen.
If you find a "must-have" pot without a hole, use it as a "cachepot." Keep your plant in its plastic nursery pot (which has holes) and place that inside the decorative one. When you water, take the plastic pot to the sink, let it drain completely, and then put it back in its fancy home.
This method gives you the best of both worlds: high-end aesthetics and a healthy root system. It also makes it much easier to feel the weight of the plant to see if it's thirsty. If the plant feels incredibly light, you know it's time to soak it!
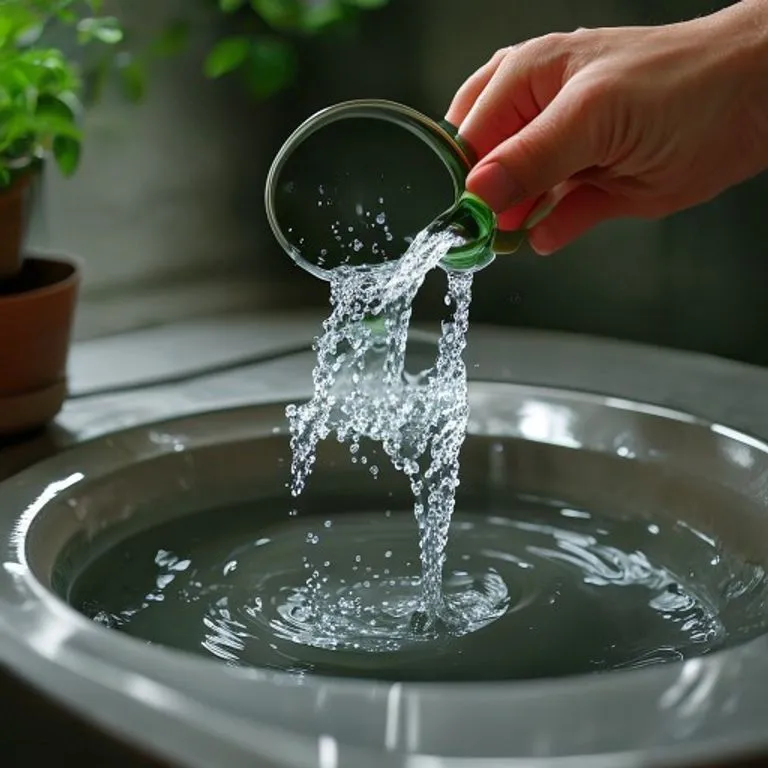
3. Try the Bottom-Watering Technique
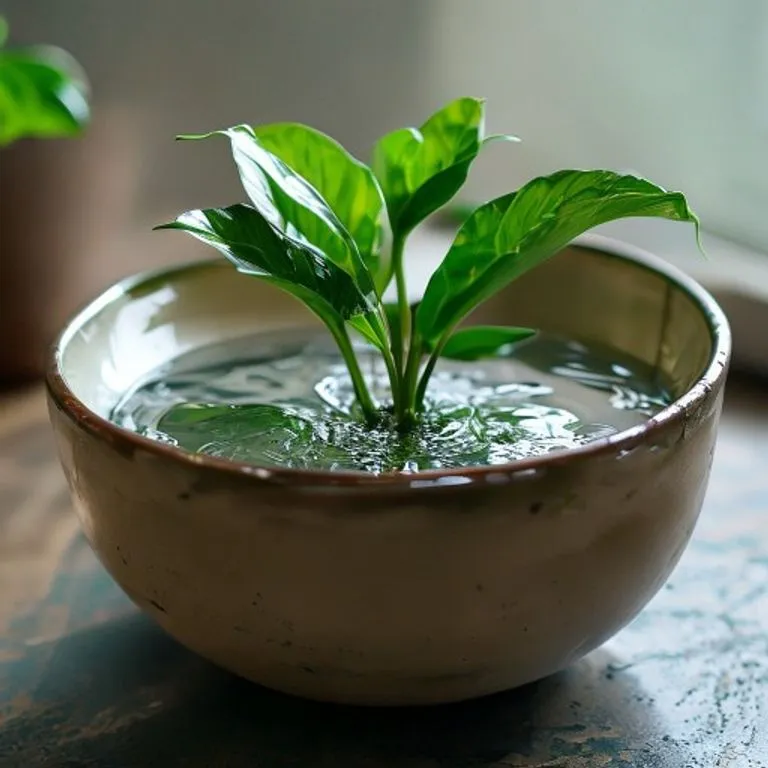
Bottom watering is a game-changer for plants that are sensitive to crown rot or those with very dense foliage. Instead of pouring water over the top, you place the pot in a tray or sink filled with a few inches of water. The soil then acts like a sponge, drawing moisture upward through capillary action.
Let the plant sit for about 15 to 20 minutes, or until the top of the soil feels slightly damp. This ensures that the entire root ball gets hydrated without leaving the top layer of soil overly wet. It's also a great way to prevent those annoying fungus gnats that love moist surface soil.
Just remember to "top water" once every month or two to flush out any mineral salts that might build up in the soil. It's all about balance. Your plants will appreciate the deep, thorough drink that bottom watering provides.
4. Adjust for the Seasons
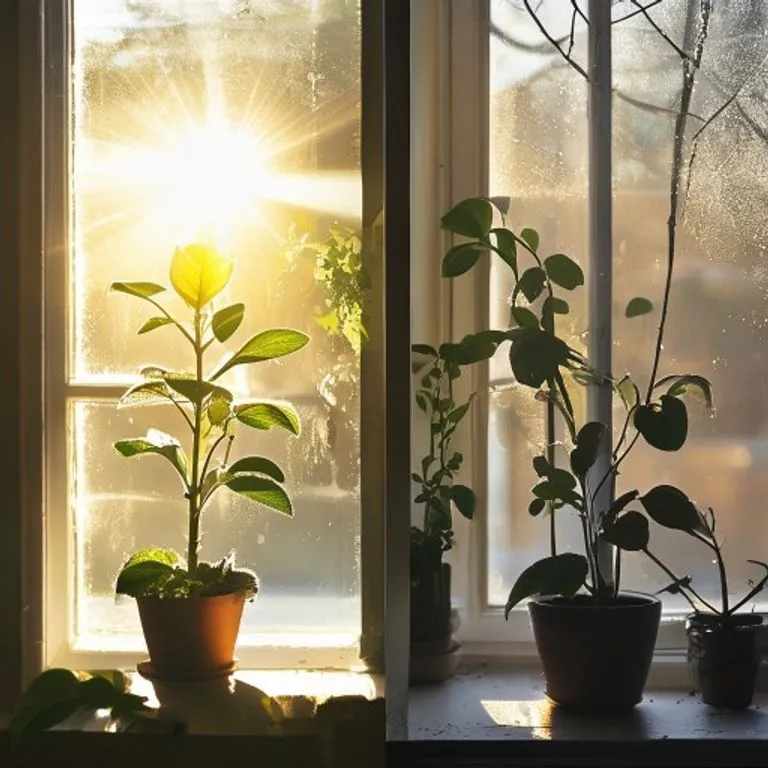
Plants aren't static; their needs change throughout the year. During the spring and summer (the growing season), your plants are active, pushing out new leaves and drinking heavily. During the winter, however, many plants go into a semi-dormant state where they grow slowly and need much less water.
The shorter days and cooler temperatures mean the soil takes longer to dry out. If you keep up your summer watering routine in December, you're almost guaranteed to run into root rot issues. Always check the soil more frequently when the seasons shift.
Even the humidity in your home changes with the weather. Winter heaters can dry out the air, but they don't necessarily dry out the soil as fast as the summer sun does. Pay attention to these subtle environmental cues to keep your watering on point.
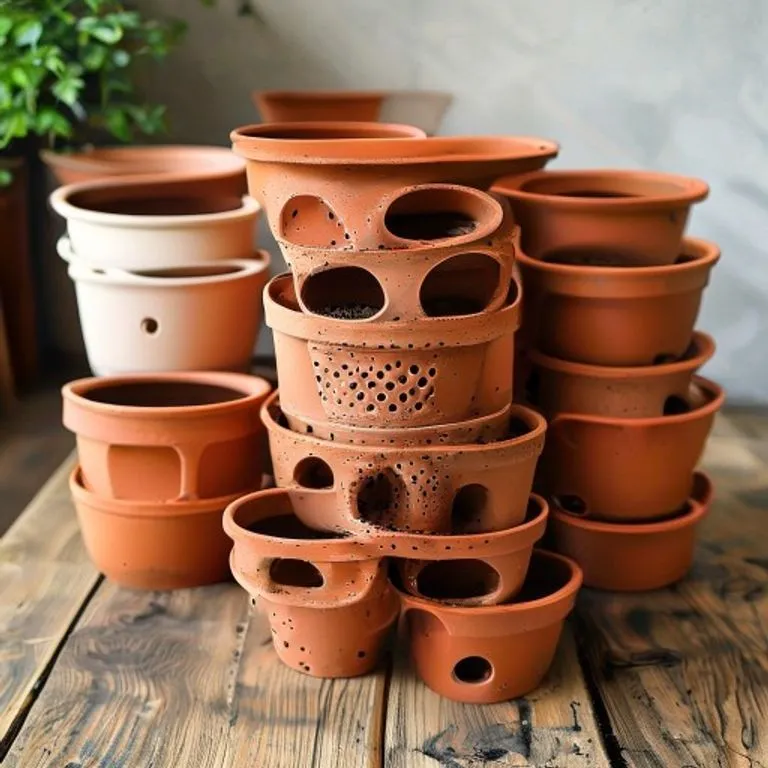
5. Choose the Right Pot Material
Did you know that what your pot is made of affects how often you need to water? Terracotta is porous, meaning it "breathes" and allows moisture to evaporate through the sides of the pot. This is excellent for plants that like to dry out quickly, such as succulents, cacti, or snake plants.
On the other hand, plastic, metal, and glazed ceramic pots are non-porous. They trap moisture inside for much longer. If you have a plant that is prone to rot, moving it into terracotta can provide a much-needed safety net by speeding up the drying process.
Be mindful of this when following watering advice you find online. A plant in a plastic pot in a humid bathroom will need watering much less often than the same plant in a terracotta pot in a sunny living room. Context is everything in the plant world!
6. Don't Let Your Plants Sit in Runoff
We use saucers to protect our furniture, but they can become "death traps" if we're not careful. After you water your plant, any excess that runs out the bottom collects in the saucer. If that water stays there for hours or days, the bottom of the soil stays saturated.
This "wet feet" condition is the primary cause of root rot in many households. Aim to check your saucers about 15 to 30 minutes after watering. If there is still standing water, tip it out into the sink or use a turkey baster to suck it up.
Think of it like wearing wet socks - it's uncomfortable and eventually leads to problems. By keeping the saucer dry, you ensure that the roots have access to the oxygen they need to stay firm and healthy. It's a small step that makes a massive difference.
7. Recognize the Early Signs of Stress
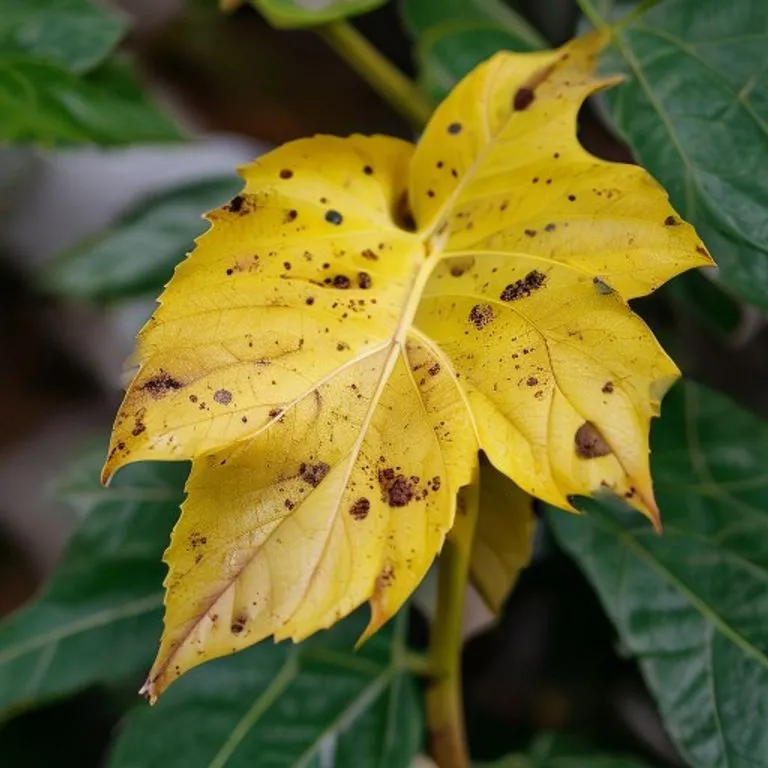
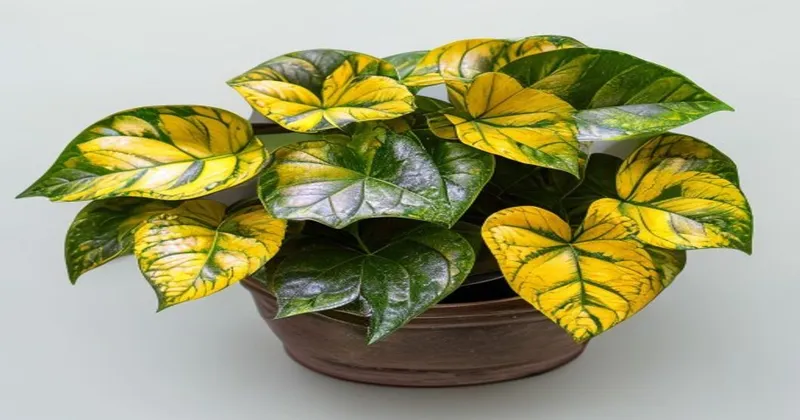
Plants communicate with us through their leaves, but the signals can sometimes be confusing. For example, both underwatered and overwatered plants can wilt. The difference is in the texture: underwatered leaves are usually dry and crispy, while overwatered leaves feel soft, limp, and perhaps a bit "mushy."
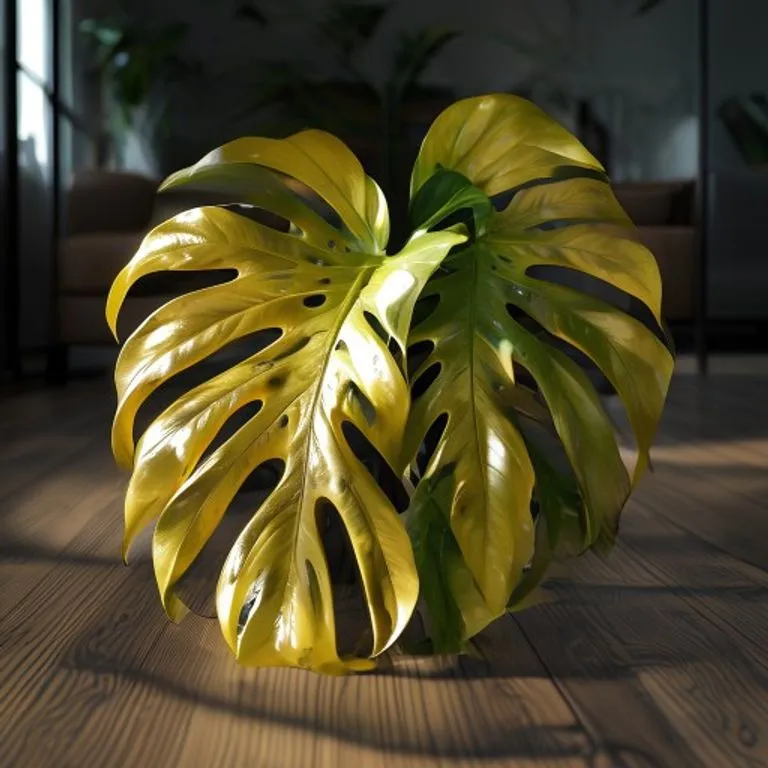
Yellowing leaves, especially those starting at the bottom of the plant, are a classic sign of overwatering. You might also notice a musty smell coming from the soil or see tiny flies (fungus gnats) buzzing around. If the stem near the soil line looks dark or feels soft, that's an urgent warning sign.
Catching these signs early allows you to take action before the rot spreads to the entire root system. If you see these symptoms, stop watering immediately and let the soil dry out completely. In some cases, you might even need to repot into fresh, dry soil.
8. Use a Chunky, Well-Draining Soil Mix

Standard potting soil from the big-box store is often too dense for many tropical houseplants. It holds onto water like a sponge, which is great for outdoor gardens but dangerous for indoor pots. To prevent rot, you want to create "air pockets" in the soil.
I highly recommend mixing in amendments like perlite, orchid bark, or pumice. A good rule of thumb is a mix of 60% potting soil, 20% perlite, and 20% bark. This "chunky" mix allows water to flow through quickly while leaving space for roots to breathe.
When roots have access to oxygen, they are much more resilient against rot-causing fungi. Plus, a well-draining mix makes it much harder to accidentally overwater. It's like giving your plant a customized, high-performance home that supports its natural growth patterns.
9. Invest in a Quality Moisture Meter
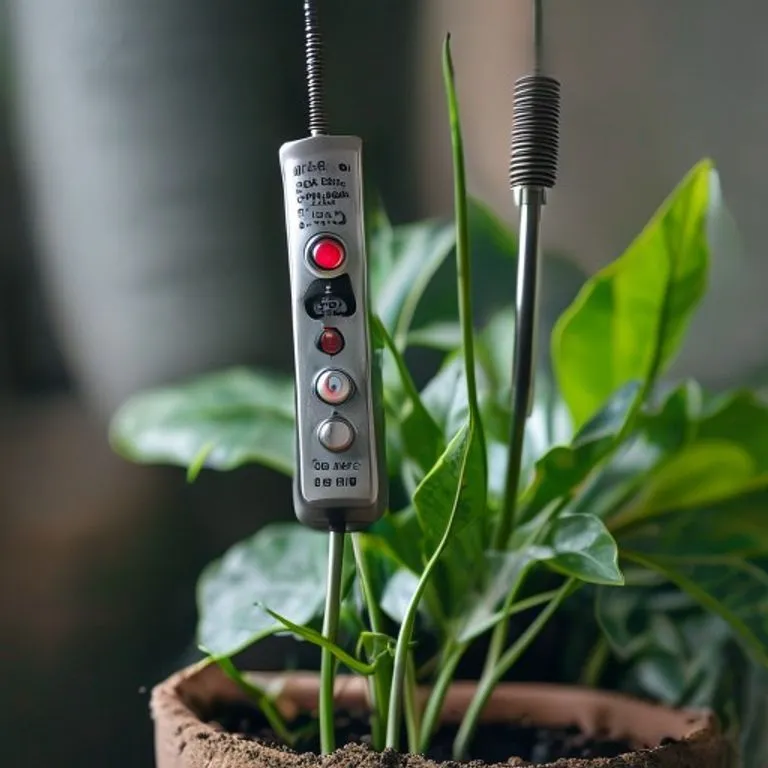
If you find the finger test difficult or if you have very deep pots, a moisture meter is a fantastic tool. These inexpensive gadgets have a long probe that reaches deep into the pot to tell you exactly how wet the soil is near the roots. It takes the guesswork out of the equation.
Most meters use a scale of 1 to 10 (Dry to Wet). For most houseplants, you'll want to wait until the meter hits the "Dry" or the very low end of the "Moist" range before watering again. It's an eye-opening experience to see how wet the bottom of a pot can stay even when the top feels dry.
Just a quick tip: don't leave the moisture meter in the soil permanently, as the probes can corrode. Wipe it clean after each use and store it in a dry place. It's a small investment that provides huge peace of mind for any plant enthusiast.
10. Abandon the "Watering Schedule" Mentality
One of the biggest myths in plant care is that you should "water your Pothos every Tuesday." Environmental factors like humidity, light intensity, and airflow change constantly. A plant that needs water every 5 days in a hot July might only need it every 14 days in a gloomy November.
Instead of a schedule, develop a "checking" routine. Pick a day of the week to go around and touch the soil of all your plants. Some will be ready for a drink, and some won't. This approach forces you to observe your plants more closely and react to their actual needs.
By moving away from a rigid schedule, you become much more in tune with your indoor garden. You'll start to notice the subtle ways your plants tell you they're thirsty, like a slight drooping of the leaves or a change in the color of the soil.
11. Aerate Your Soil Occasionally
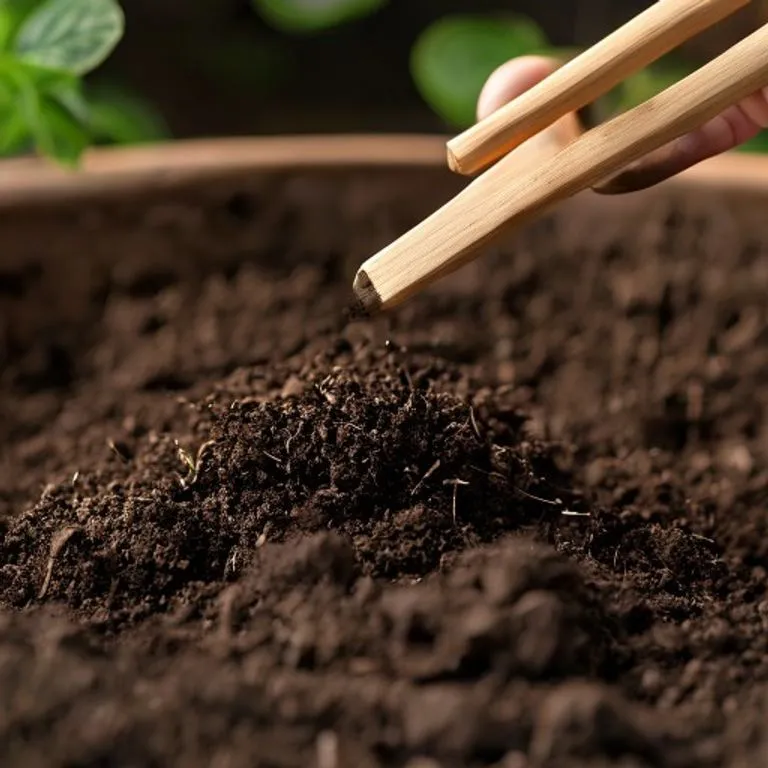
Over time, potting soil can become compacted. When this happens, water doesn't flow through evenly; instead, it might run down the sides of the pot or pool in certain spots, leaving some roots bone-dry and others drowning. Compacted soil also lacks the oxygen roots need to stay healthy.
Take a chopstick or a thin wooden dowel and gently poke several holes into the soil every few months. This "aeration" breaks up the dirt and creates channels for air and water to reach the entire root system. It's like giving your plant's roots a breath of fresh air.
You'll notice that after aerating, the soil absorbs water much more readily. It's a simple, free way to maintain the structural integrity of your soil and prevent the anaerobic conditions that lead to root rot. Your plants will literally breathe a sigh of relief!
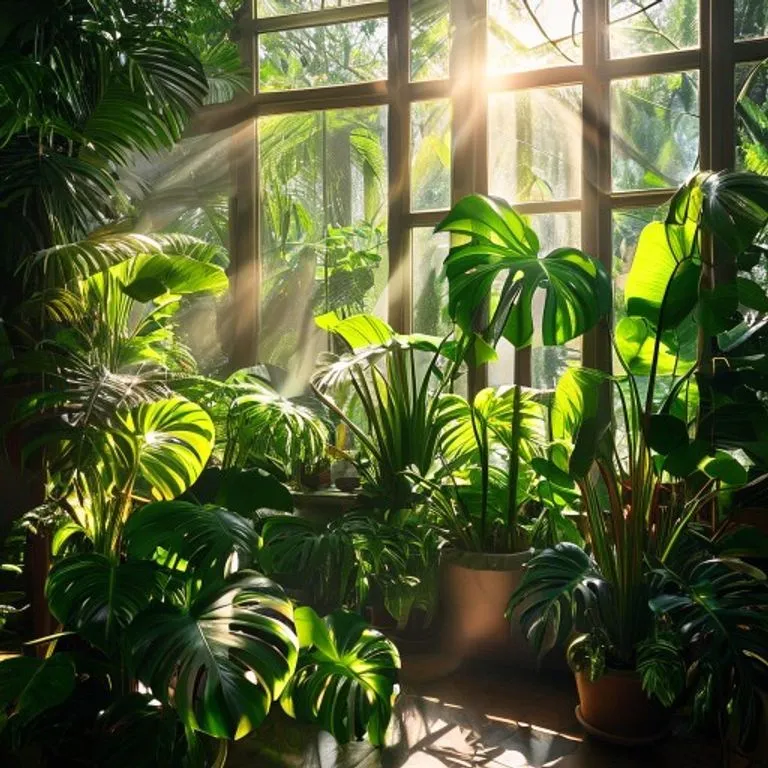
At the end of the day, remember that most indoor plants are incredibly resilient. They've evolved to survive in much harsher conditions than our living rooms, and they'd much rather be a little too dry than a little too wet. By slowing down, checking the soil, and ensuring proper drainage, you're not just keeping a plant alive - you're helping it thrive. So, next time you reach for that watering can, take a deep breath, do the finger test, and enjoy the rewarding journey of being a truly mindful plant parent. You've got this!