We've all been there - walking into the living room only to find our prized Swiss Cheese plant looking more like a sad, wilted salad than a tropical masterpiece. It's a gut-punch moment when those iconic, fenestrated leaves start turning yellow or, even worse, a mushy shade of brown. You start questioning every watering choice you've made over the last month, wondering if your green thumb has finally deserted you.
If your Monstera is currently staging a protest, don't panic and reach for the trash can just yet. These plants are surprisingly resilient "survivors" that can bounce back from the brink of death if you know how to read their signals. In this guide, we're going to walk through eight foolproof steps to identify the culprit and nurse your green friend back to health, ensuring it stays vibrant for years to come.
Step 1: Play Plant Detective
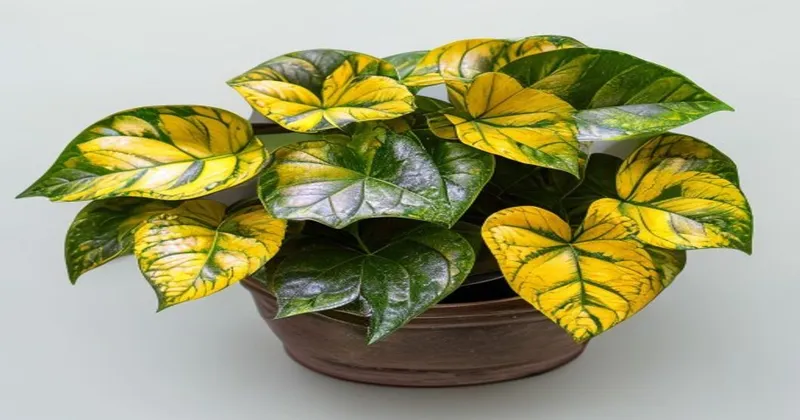
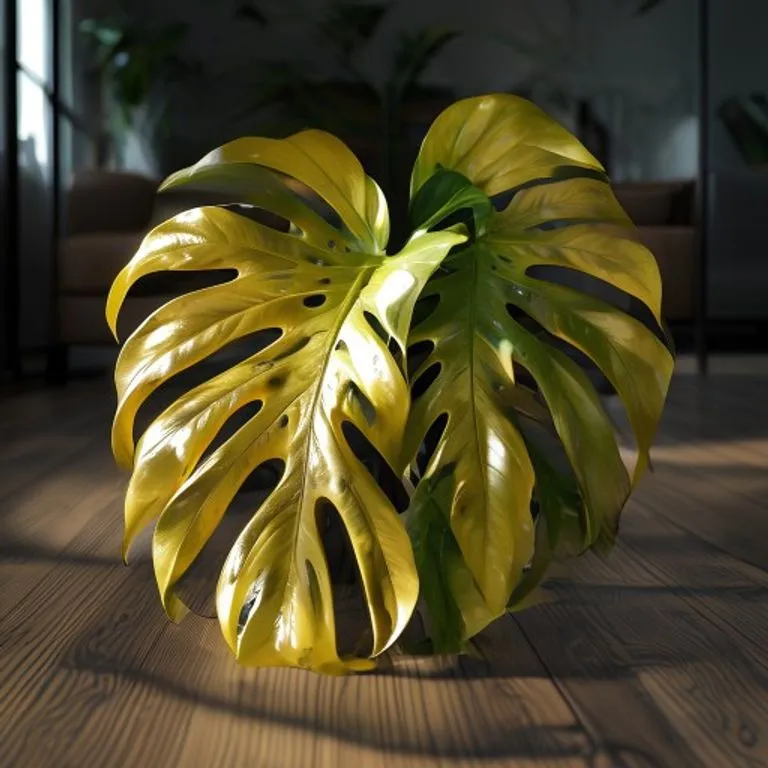
Before you start pouring water or hacking off stems, you need to figure out exactly what's going wrong. Your Monstera is actually a very good communicator; you just need to learn its language. Look closely at the leaves: are they yellow and soft, or brown and crispy? Yellowing usually points to overwatering, while crispy edges often mean the air is too dry or you've been forgetful with the watering can.
Check the underside of the leaves for tiny white specks or webbing, which could indicate a spider mite invasion. If the stems are leaning heavily toward the window, your plant is literally begging for more light. Take a mental note of these symptoms before moving to the next step. Diagnosing the issue correctly is half the battle won.
Don't forget to check the pot itself. Is the soil pulling away from the edges, or is it a soggy, stagnant mess? These clues will tell you if the problem is at the root level or environmental. Once you have a handle on the "why," the "how" becomes much easier to manage.
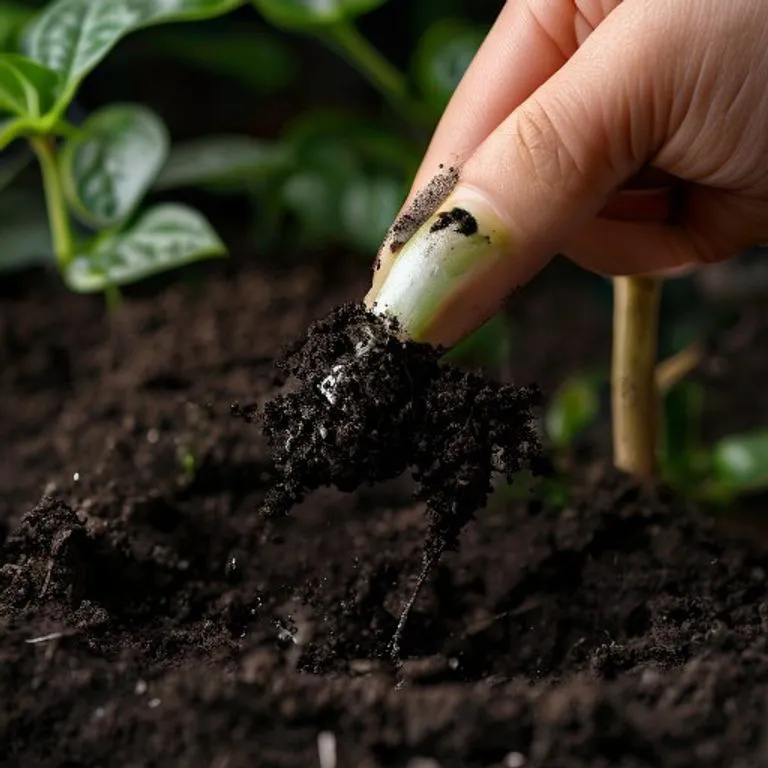
Step 2: Inspect the Roots for Rot

Root rot is the number one silent killer of indoor Monsteras. Since we can't see what's happening underground, we often keep watering a plant that is literally drowning. Gently slide your Monstera out of its pot to get a good look at the root system. Healthy roots should be firm, thick, and white or light tan in color.
If you see roots that are black, slimy, or smell like a swamp, you're dealing with rot. This happens when the roots are starved of oxygen due to compacted soil or excess water. You'll need to perform a bit of "plant surgery" here. Use a pair of sterilized scissors to snip away any mushy sections until only the healthy, firm roots remain.
If the rot is extensive, you can dip the remaining healthy roots in a mixture of one part hydrogen peroxide to three parts water. This helps kill off any lingering fungi and gives the roots a quick blast of oxygen. It might feel scary to trim the roots, but it's the only way to save the plant's life.
Step 3: Refresh the Soil with an Aroid Mix
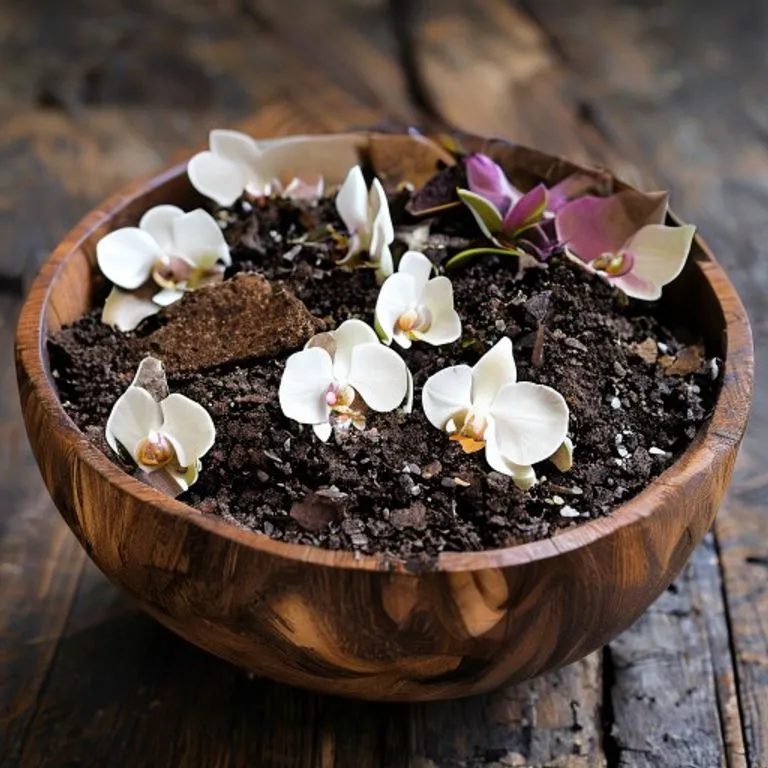
Once the roots are clean, don't put the plant back into that old, heavy soil. Standard potting soil is often too dense for Monsteras, which are epiphytes by nature - meaning they grow up trees in the wild and love air around their roots. You need a mix that drains fast while still holding a bit of moisture.
Create a custom "Aroid Mix" by combining regular potting soil with plenty of orchid bark and perlite. A good ratio is 50% soil, 25% bark, and 25% perlite. This creates big air pockets that allow the roots to breathe and prevents water from sitting around them like a heavy blanket.
When you repot, choose a container with plenty of drainage holes. If you love the look of a decorative ceramic pot that doesn't have holes, use it as a "cachepot." Keep the plant in a plastic nursery liner inside the pretty pot so you can easily take it to the sink for watering.
Step 4: Prune Away the Dead Weight
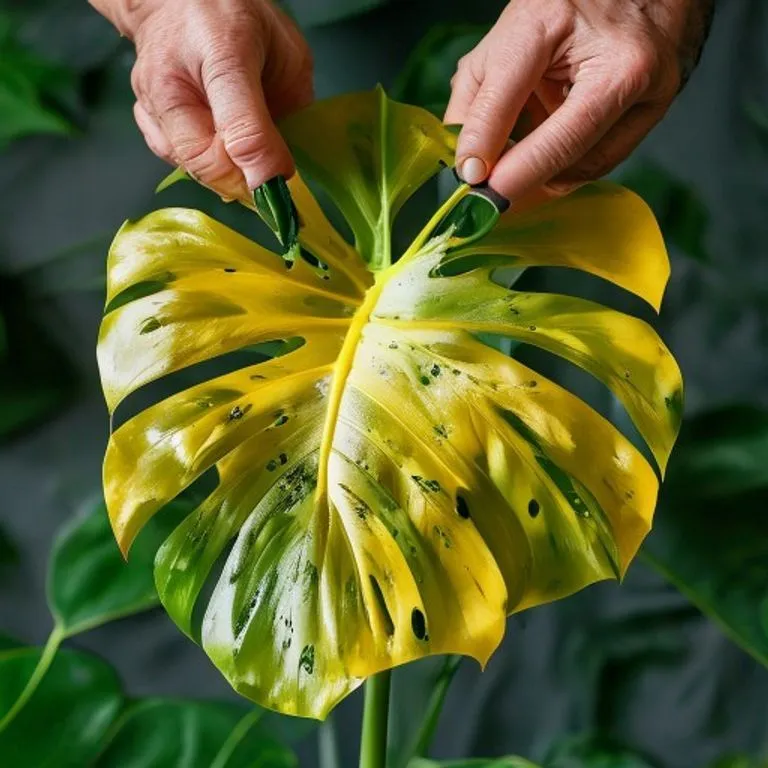
It can be heartbreaking to cut off large leaves, especially if you've waited months for them to grow. However, a dying leaf is a massive energy drain on a struggling plant. Your Monstera is wasting precious resources trying to "fix" a leaf that is never going to turn green again. You need to redirect that energy toward new growth and root repair.
Identify leaves that are more than 50% yellow or brown and snip them off at the base of the stem. Use clean, sharp shears to ensure a clean cut, which heals faster and reduces the risk of infection. Don't worry about the plant looking a bit "naked" for a while - it's a necessary step for its long-term survival.
If a leaf only has a tiny bit of brown on the tip, you can choose to leave it or just trim the brown edge with scissors. Just make sure you leave a tiny sliver of the brown part so you don't cut into the "living" green tissue, which can cause further stress. Think of this as a fresh start for your plant's silhouette.
Step 5: Master the Art of Watering
Most people water their plants on a strict schedule, like "every Tuesday." But your Monstera's water needs change depending on the season, the humidity, and how much light it's getting. Instead of a calendar, use your finger. Stick it two inches deep into the soil; if it feels dry, it's time to water. If it feels even slightly damp, wait a few more days.
When you do water, do it thoroughly. Pour water until it flows freely out of the drainage holes at the bottom. This ensures the entire root ball gets hydrated and helps flush out any built-up salts from fertilizers. This is known as "drench and dry," and it mimics the heavy tropical rains the Monstera is used to.
Consider using filtered water or letting tap water sit out overnight. Monsteras can be sensitive to the chlorine and fluoride found in some city water supplies. These chemicals can cause the tips of the leaves to turn brown over time, so giving the water a chance to "off-gas" is a simple trick to keep the foliage pristine.
Step 6: Find the "Goldilocks" Light
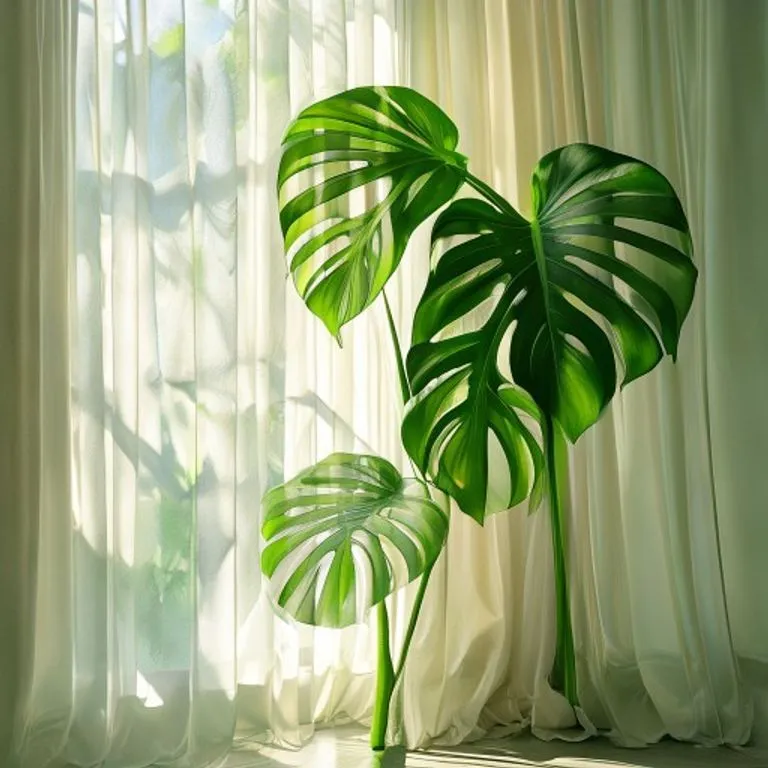
Monsteras are often sold as "low light" plants, but that's a bit of a marketing myth. While they won't die immediately in a dark corner, they certainly won't thrive. On the flip side, harsh, direct afternoon sun can scorched their leaves, leaving behind ugly white or brown "bleach" marks that never go away.
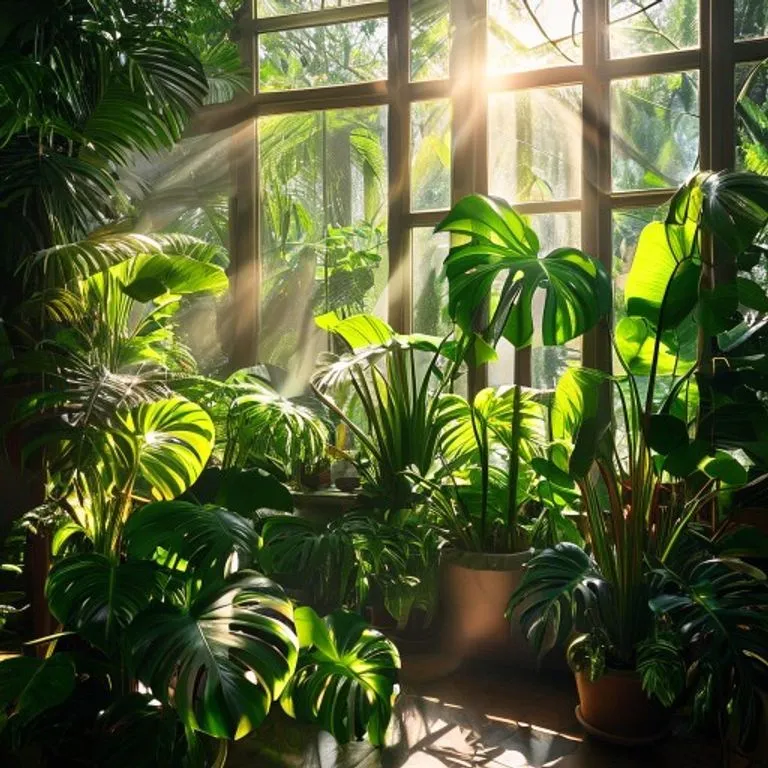
The sweet spot is bright, indirect light. Think of the dappled light on a forest floor. An east-facing window is perfect for gentle morning sun, or a south-facing window with a sheer curtain to diffuse the intensity. If you don't have enough natural light, a simple LED grow light can work wonders for reviving a lethargic plant.
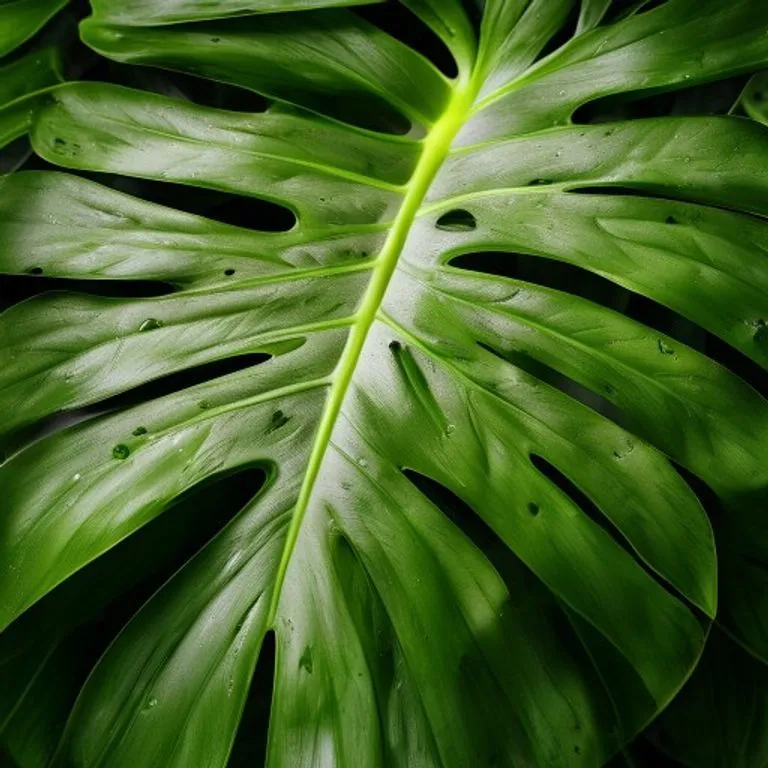
Keep an eye on how the plant reacts. If the new leaves are small and don't have any holes (fenestrations), it needs more light. If the leaves look washed out or pale, it might be getting too much. Finding that perfect balance is the key to getting those massive, iconic leaves we all love.
Step 7: Boost the Humidity Levels
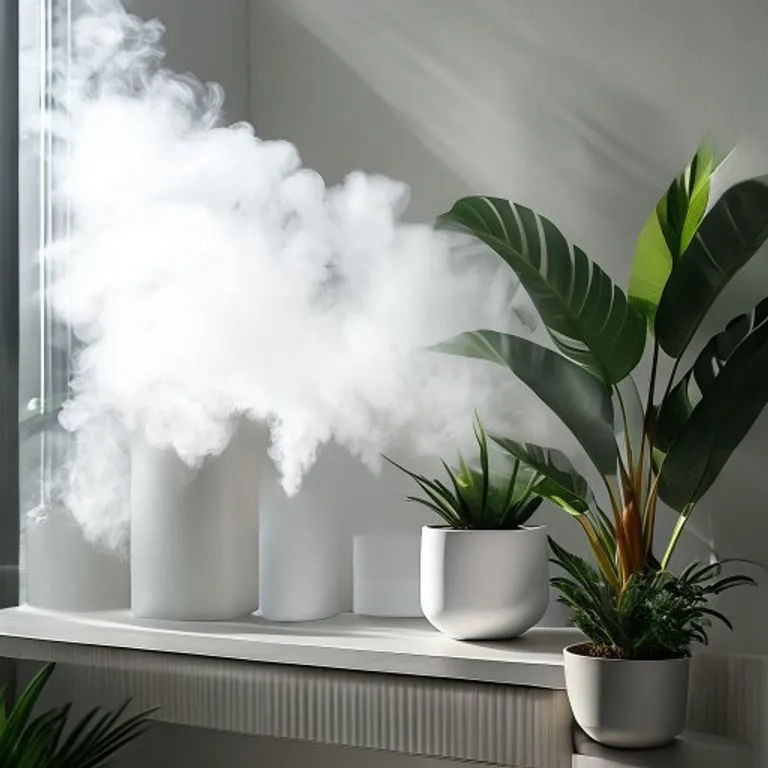
Remember, the Monstera Deliciosa is a jungle native. Most of our homes, especially in winter when the heater is running, are as dry as a desert. Low humidity is a common reason for a Monstera to look "sad" or for new leaves to get stuck while they are trying to unfurl.
Misting the leaves with a spray bottle is a common piece of advice, but it doesn't actually do much for long-term humidity. It only raises the moisture levels for a few minutes. A better solution is to group your plants together; they naturally release moisture through their leaves, creating a little humid micro-climate for each other.
If your home is particularly dry, a small humidifier placed near your plant collection is a total game-changer. Aim for a humidity level between 50% and 60%. You'll notice the leaves looking shinier and the plant appearing much more "perky" almost overnight. It's like a spa day for your greenery.
Step 8: Give it Time and Patience
After you've repotted, pruned, and adjusted the environment, the hardest part begins: waiting. Plants operate on a much slower timeline than we do. You won't see a dramatic transformation in 24 hours. In fact, the plant might look a little shocked for the first week as it adjusts to its new soil and pruned roots.
Resist the urge to fertilize right away. While it might seem like a good idea to give it a "boost," fertilizer is actually a stressor. It's like trying to feed a person a five-course steak dinner when they have the flu. Wait until you see signs of active new growth - like a new leaf spike - before you start a light feeding routine.
Check in on your plant every few days, but don't fuss over it too much. If you've followed these steps, you've given it everything it needs to recover. Within a month or two, you'll likely see a bright green "spear" emerging from a stem. That's your plant's way of saying "thank you" for the second chance at life.
Reviving a dying plant is one of the most rewarding parts of being a plant parent. It teaches you to pay attention to the subtle shifts in your environment and gives you a much deeper connection to the living things in your home. Your Monstera is a fighter, and with a little bit of focused care, it will be back to its majestic, jungle-vibes self in no time. Keep an eye on those leaves, trust the process, and enjoy the journey of watching your green friend flourish once again.