Have you ever stared at a tiny balcony or a concrete patio and wished you could grow your own crisp cucumbers or juicy tomatoes? Most of us grew up thinking that gardening required a massive backyard, a tractor, and hours of back-breaking tilling. But that's a myth that keeps far too many people from enjoying the magic of eating something they grew themselves. All you really need to become a successful "urban farmer" is a bit of sunshine and a few five-gallon buckets you can find at any hardware store.
This guide is going to show you exactly how to turn those humble plastic containers into a high-yield vegetable garden. We'll dive into picking the right buckets, mixing the perfect soil, and choosing the plants that actually like living in a confined space. Whether you're trying to save money on groceries or just want a rewarding hobby, bucket gardening is the most accessible way to get your hands dirty.
Why the Humble Bucket is Your Secret Weapon
There is a reason professional growers often use containers - it gives you total control. When you plant in the ground, you're stuck with whatever soil quality you have, which is often rocky, clay-heavy, or nutrient-poor. With a bucket, you provide the perfect environment from day one. You aren't just planting a seed; you're building a custom home for it.
Buckets are also incredibly portable, which is a lifesaver if your yard gets patchy sunlight. If the sun moves behind a tree in the afternoon, you can simply pick up your "garden" and move it three feet to the left. This mobility also helps when extreme weather hits. If a hailstorm or a surprise frost is coming, you can bring your plants into the garage for the night, saving months of hard work in seconds.
Finally, bucket gardening is incredibly cheap. While fancy raised beds can cost hundreds of dollars in lumber and hardware, you can often find food-grade buckets for a few dollars each - or even for free. Many bakeries and restaurants receive their frosting or pickles in these containers and are happy to give them away if you ask nicely. It's the ultimate way to recycle while feeding your family.
Choosing the Best Buckets for Growing
Not all plastic is created equal, especially when it comes to growing food. You want to look for "food-grade" plastic to ensure that no nasty chemicals are leaching into your soil and, eventually, your veggies. Look for the recycling symbol on the bottom; a number "2" inside the triangle usually signifies High-Density Polyethylene (HDPE), which is considered safe for food use.
Size is the next big factor to consider. For most vegetables, the classic five-gallon bucket is the gold standard. It provides enough depth for root systems to stretch out without becoming "root-bound" too quickly. Smaller three-gallon buckets can work for herbs or small peppers, but if you're going for big hitters like tomatoes or squash, you definitely want that five-gallon volume.
While bright orange or blue buckets work just fine, keep in mind that dark colors absorb more heat. If you live in a scorching climate, dark buckets can actually cook the roots of your plants during a heatwave. If you have dark buckets, consider painting the outside white or wrapping them in light-colored burlap to keep the root zone cool and happy.
Drilling for Success: The Importance of Drainage

The fastest way to kill a vegetable plant is to give it "wet feet." Most vegetables hate sitting in stagnant water; it leads to root rot, fungus, and a very sad-looking harvest. Since plastic buckets are airtight and watertight, you have to create a way for excess moisture to escape. This is where a power drill becomes your best friend.
Flip your bucket upside down and drill at least five to eight half-inch holes in the bottom. Don't stop there, though! I always recommend drilling a few holes about an inch up the sides of the bucket as well. This ensures that even if the bottom holes get clogged with soil, the water still has an emergency exit.
If you're worried about soil washing out of the holes and staining your patio, you can line the bottom of the bucket with a small piece of landscape fabric or even a coffee filter. This allows the water to pass through freely while keeping the dirt where it belongs. It's a simple step that makes a massive difference in the long-term health of your garden.
Creating the Ultimate "Black Gold" Soil Mix
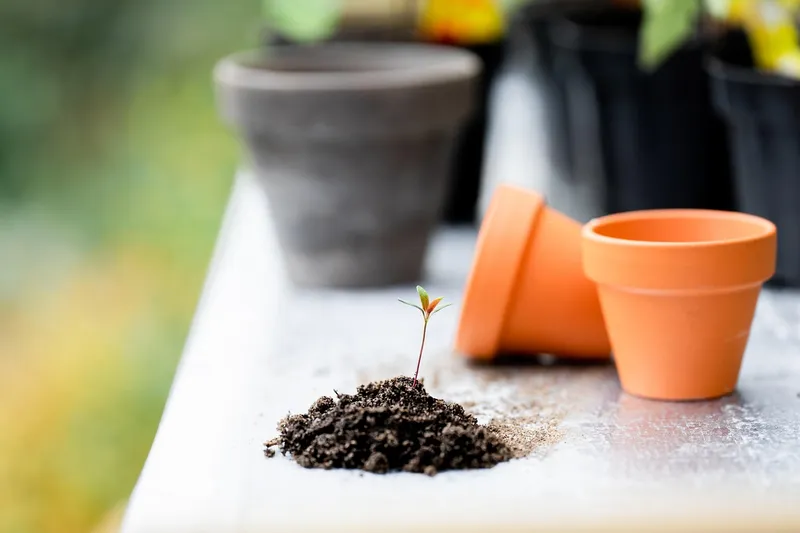
Here is a professional tip: never use "garden soil" from a bag or dirt from your backyard in a bucket. Real soil is too heavy and dense; it will compact over time, essentially suffocating your plants. For bucket gardening, you need a lightweight "soilless" potting mix that is designed to stay fluffy and airy even when wet.
A great DIY recipe is a mix of one part peat moss or coconut coir, one part perlite (those little white volcanic rocks), and one part high-quality compost. The peat moss holds onto moisture, the perlite provides air pockets for the roots, and the compost provides the nutrients your plants crave. It's a balanced diet that helps your veggies thrive in a confined space.
Remember that because buckets have limited soil volume, they run out of nutrients faster than a traditional garden bed. Mixing in a handful of slow-release organic fertilizer at the beginning of the season is like giving your plants a multivitamin. It ensures they have a steady stream of energy to produce those big, beautiful vegetables you're dreaming of.
Top Vegetables That Thrive in Buckets
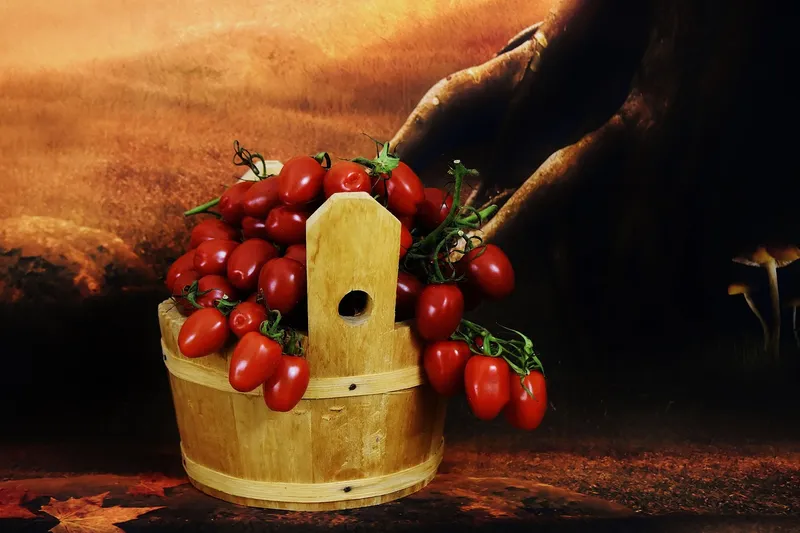
While you can grow almost anything in a bucket if you try hard enough, some plants are practically made for it. "Determinate" tomatoes, also known as bush tomatoes, are perfect because they grow to a certain height and then stop. They won't turn into a twelve-foot monster that topples your bucket over in a light breeze.
Peppers - both hot and sweet - are another fantastic choice. They actually enjoy the slightly warmer soil temperatures that containers provide. Eggplants and bush beans are also high-yielders that don't take up much vertical space. If you're a fan of salads, you can fit several heads of lettuce or a thick carpet of spinach in a single bucket for a "cut and come again" harvest all spring.
Don't forget about herbs! A single five-gallon bucket can host a miniature Mediterranean garden with basil, oregano, and rosemary. Just be careful with mint; it's an aggressive grower that will take over the entire bucket and try to escape into your yard if you let it. Keeping it in its own dedicated bucket is actually the best way to manage it.
Watering Without the Guesswork
Watering a bucket garden is a bit of an art form. Because the plastic walls don't breathe like terracotta or wood, the soil stays moist in the center but can dry out quickly on the surface. The best way to check if your plant is thirsty is the "finger test." Stick your index finger two inches into the soil; if it feels dry, it's time to water. If it feels damp, leave it alone.
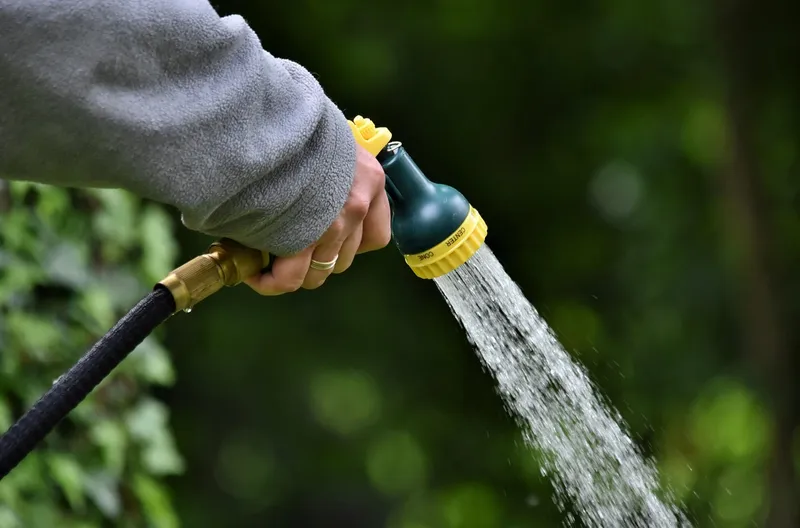
Try to water your buckets in the early morning. This gives the plants a chance to soak up the moisture before the hot afternoon sun starts evaporating it. It also ensures that any water that gets on the leaves has time to dry out during the day, which prevents mold and mildew from moving in overnight.
When you do water, do it deeply. Keep pouring until you see water starting to trickle out of the drainage holes at the bottom. This encourages the roots to grow deep down into the bucket rather than staying near the surface. Deep roots mean a stronger, more resilient plant that can handle a hot day without wilting.
Nutrients: Keeping Your Plants Fed
Think of your bucket as a pantry. Your plant is eating from that pantry every single day, and eventually, the shelves are going to be empty. Since the roots can't reach out into the earth to find more minerals, you have to be the one to restock the supply. This is the "secret sauce" of high-yield bucket gardening.
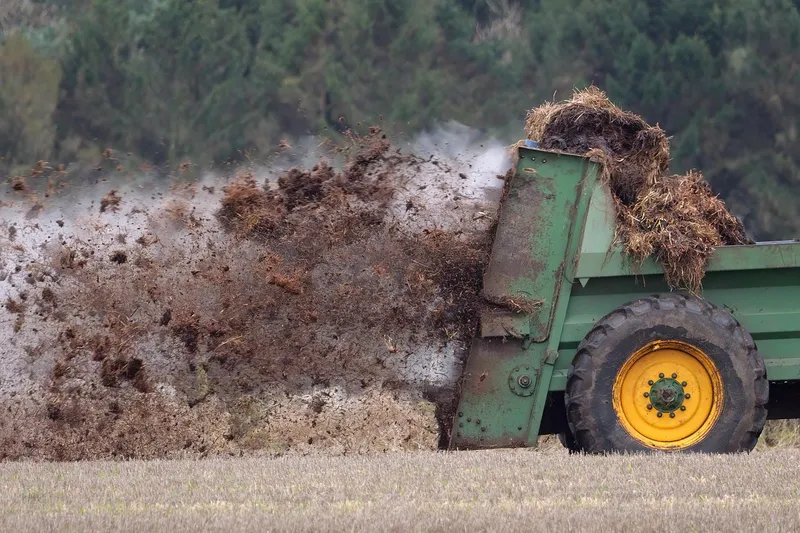
I recommend using a water-soluble organic fertilizer every two weeks once your plants start flowering. Liquid seaweed or fish emulsion might smell a bit "earthy" for a few hours, but the plants absolutely love it. It provides an immediate boost of nitrogen, phosphorus, and potassium that keeps the foliage green and the fruit growing fast.
If you prefer a "set it and forget it" approach, you can top-dress your buckets with a fresh inch of compost or worm castings every month. Every time you water, the nutrients from that top layer will tea-rinse down into the root zone. It's a gentle, natural way to keep your mini-ecosystem thriving throughout the entire growing season.
Maximizing Space with Vertical Supports

Just because your plant is in a bucket doesn't mean it has to stay small. Many bucket-grown veggies, like cucumbers or pole beans, want to climb. Instead of letting them sprawl across your patio floor where they might get stepped on or rot, give them something to hold onto. A simple tomato cage or a few bamboo stakes lashed together works wonders.
Vertical gardening is the best way to double your harvest in the same amount of square footage. By training a cucumber vine to grow up a trellis stuck right into the bucket, you keep the fruit off the ground and improve air circulation. This results in cleaner, straighter vegetables and significantly fewer problems with pests like slugs.
If you're growing something heavy, like a large variety of tomato, make sure your stakes are pushed all the way to the bottom of the bucket. As the plant grows and gets loaded with fruit, it can become top-heavy. You might even want to place a couple of heavy bricks at the bottom of the bucket (before adding soil) or around the base of the bucket to act as an anchor during summer storms.
Starting a bucket garden is one of those rare projects where the effort-to-reward ratio is tilted heavily in your favor. There is a specific kind of pride that comes from walking out to your patio, snapping off a sun-warmed pepper, and heading back inside to toss it into your dinner. You don't need a farm, a tractor, or even a backyard - you just need the curiosity to start and a few plastic buckets to get you there. Grab a drill, find a sunny spot, and get planting; your future self will thank you at harvest time!